

what you'll need:
+ pair of jeans that you don't mind ruining
+ xacto knife
+ fabric shears
+ pencil
+ a small rectangle of cardboard
+ fray check (stops cut portions from fraying further)
I don't know about you, but I tend to spend a large portion of my budget on overpriced jeans, so I'm always looking for ways to find similar pairs for less. When I fell in love with a particular overpriced, ripped pair I purchased quite a while ago, I immediately wanted to recreate the look with all of my other jeans. I searched around online to see if there was some kind of hack to getting the perfect cut, but I found nothing and I ended up experimenting myself. I've tried this method on many a pair, and each trial has ended in success. Hope this helps you if you happen to be on the same hunt as I was on. (Excuse my Dory band-aid--I only buy fun band-aids--I cut myself not on my xacto knife blade, but on my mat-cutter blade.)

1. take those pants off and put on the ones you're going to cut (mine were only $24.99 at H&M)

2. make a mark, using a colored pencil, just slightly above the knee | do this for only one knee

3. now, roll your jeans once and make a mark right above the roll (this is where you will be cutting, so make sure that it will be an appropriate length; I like mine to be just above the ankle) | do this for only one ankle

4. switch pants again and lay the ones you will cut on a flat surface, as evenly as possible | make sure the legs line up

5. measure how far up the pant leg the knee mark is and make a mark on the other knee using the same measurements | make both the marks the same length (mine were about 7 cm long) and make sure to leave about 2 cm in between the mark and the seam on each side; DO NOT cut from seam to seam

6. measure from the hem to the mark you made on the bottom of the jeans | tip: after you find the length you need, measure it out in a few places to make it easier to connect in the next step

7. draw a line, indicating where you will be cutting on both pant legs

8. reach for the small piece of cardboard

9. slide the piece of cardboard into the leg until you approach the mark; make sure the entire mark lies on the cardboard


11. once you start the rip, you want to use the entire blade and not just the tip (unless there is a stubborn portion, like the one pictured above); repeat steps 9 through 11 on the other knee | tip: pull on the bottom of the rip to keep the denim taut while cutting (the stretchier your jeans are, the more challenging it will be to cut them)

12. this is how the rip will look after you have cut it | now slightly tug on the rough edges to make them a bit frayed

13. the easier part: grab those fabric shears and cut off the hem by following the line you made earlier; repeat on the other leg | tug on the rough edges to make them a bit frayed

14. STOP before using fray check | do you want the rips to be more frayed? just wear the jeans around for a day and if that's not enough, throw them in the wash before using it
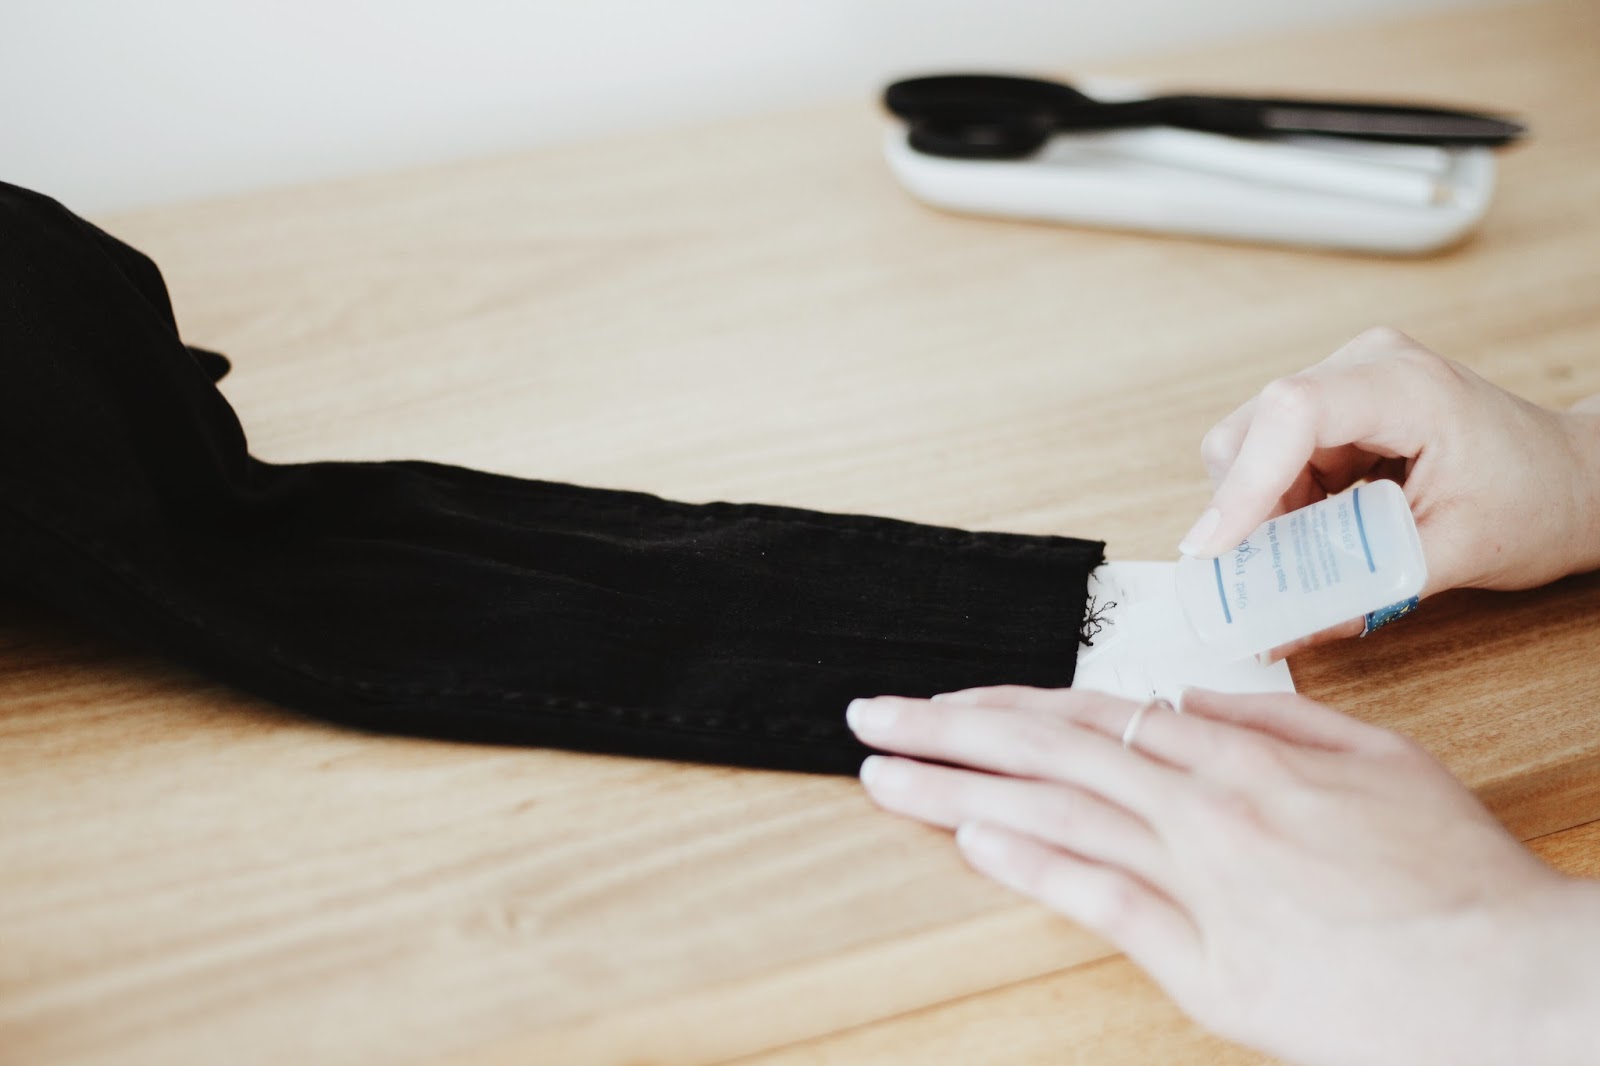
15. after your pants are frayed to your taste, it's time for some trusty fray check, but remember: FOLLOW THE INSTRUCTIONS VERY CAREFULLY | retrieve that piece of cardboard you used earlier and place it in between the fabric (as shown in the two photos above) and apply fray check to the rough edges; let it dry for 30 minutes (if you are using the same one as I am) | tip: after I use fray check, I usually throw that clothing item in the wash before I wear it

Now you can dance with your pants! That's it! It's an easy upgrade for any pair of pants (not just skinnies, I like to cut the hem off of my flared denim too) and I do this to most of my jeans. If ripped jeans aren't your thing, try skipping the knees. Cutting the hem off can give you a fresh look, without much effort and without forcing you to step out of your comfort zone. (I highly recommend cutting the hem off of a pair of vintage jeans; it's a great and simple way to modernize them.)
Do let me know if this works out for you, I'd love to hear about your experience! Hopefully you enjoyed this little DIY. Until next time. xx


